86-571-83513788 | inquiry@putianhouse.com
 |


| Quantity: | |
|---|---|
PTH
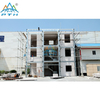
2017 Economical Environmental Light steel prefab villa with ALC panel
Advantages of ALC board:
1.Economical:first to show how economical it is, mainly is because of the thinner and easy foundation and less on site labor working hours.
2. Durable: Llife span> 50 years.
3. Safety: ①Fire resistance: 3.6 hours; ②Seismic resistance:8 degree.
4. Comfortable: ①Thermal Insulation:λ=0.11; ②Sound Insulation:100mmALC panel = 40.8db = 4 star hotel wall insulation level
5. Environmental protection:
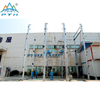
ALC Panel compare with Solid clay brick:
Production energy consumption is reduced by about 30%
Construction energy consumption reduced by about 25%
The average energy saving rate is about 34%
More details:


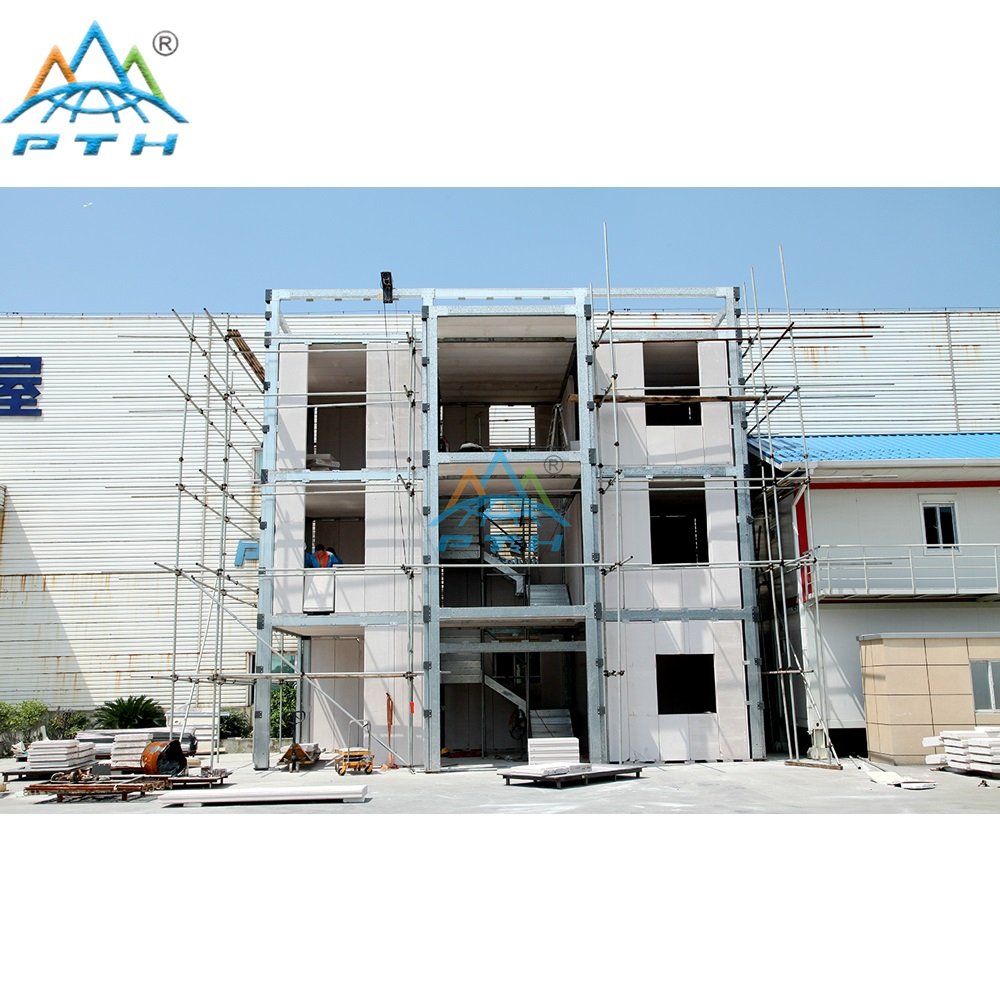
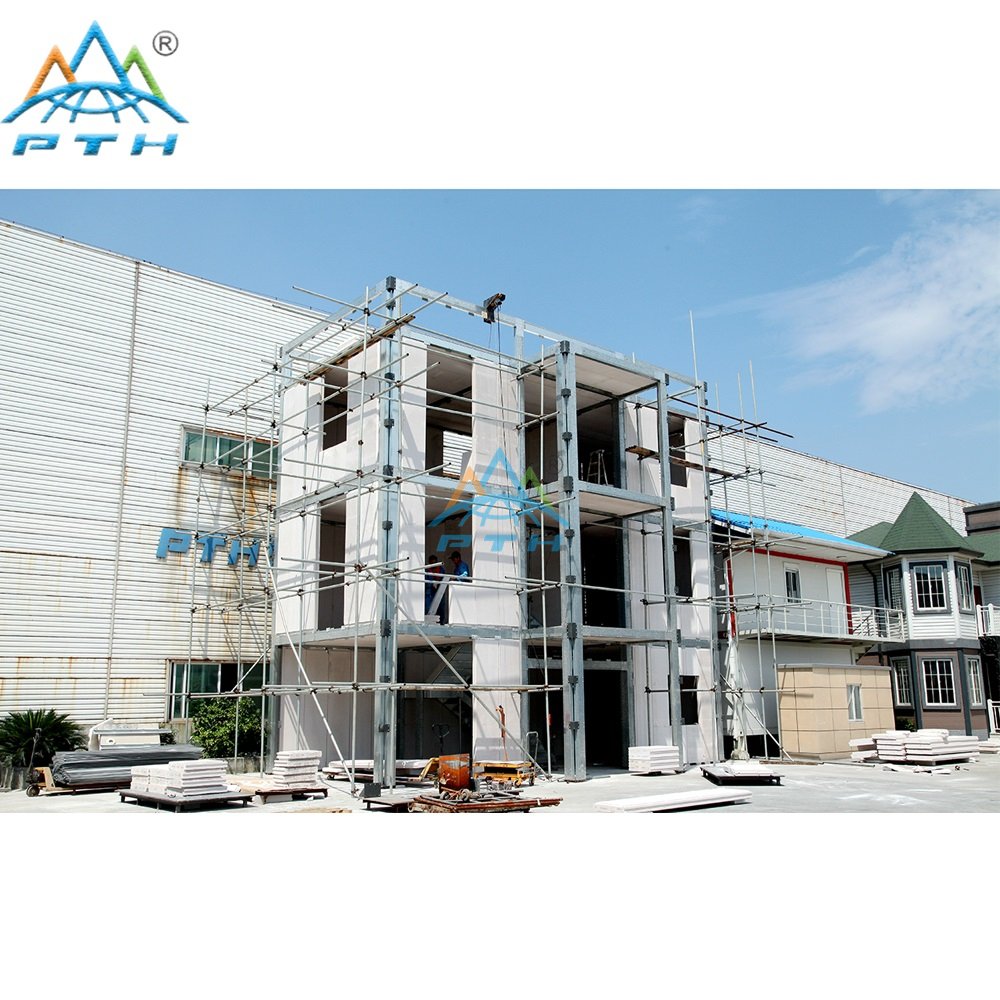
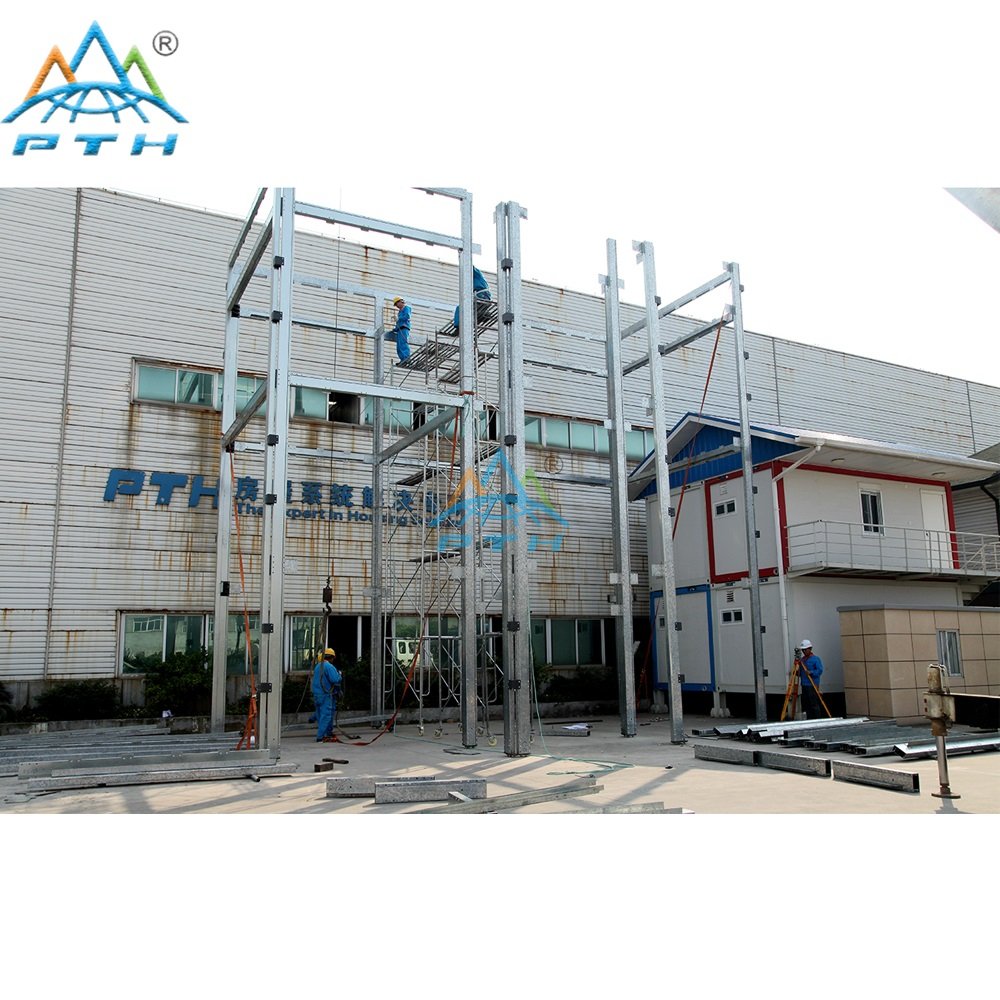
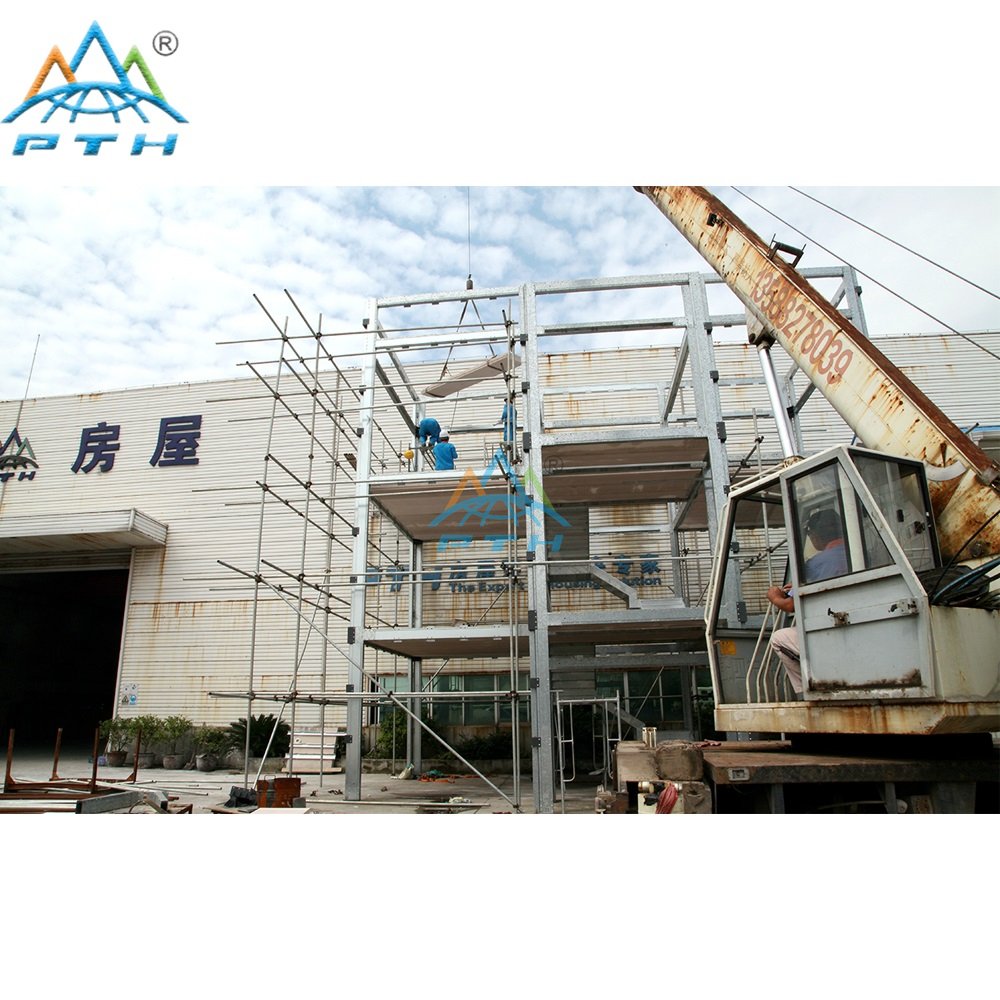
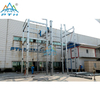
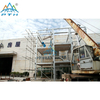
Construction procedure:
Step 1: Prepare plumbing, electricity, road, and flatten the ground.

Step 2: Fix chemical bolt onto concrete foundation; Prepared water-proof material;Align the ALC wall panel with the bolt and fix it tightly.

Step 3: Fix OSB board on the top of wall with bolt and connection plate.

Step 4: Fix ALC board roof with the OSB board.
Step 5: Wall finish.

Step 6: Cable and switch installation.
Step 7: Cable and switch installation.

2017 Economical Environmental Light steel prefab villa with ALC panel
Advantages of ALC board:
1.Economical:first to show how economical it is, mainly is because of the thinner and easy foundation and less on site labor working hours.
2. Durable: Llife span> 50 years.
3. Safety: ①Fire resistance: 3.6 hours; ②Seismic resistance:8 degree.
4. Comfortable: ①Thermal Insulation:λ=0.11; ②Sound Insulation:100mmALC panel = 40.8db = 4 star hotel wall insulation level
5. Environmental protection:
ALC Panel compare with Solid clay brick:
Production energy consumption is reduced by about 30%
Construction energy consumption reduced by about 25%
The average energy saving rate is about 34%
More details:
Construction procedure:
Step 1: Prepare plumbing, electricity, road, and flatten the ground.
Step 2: Fix chemical bolt onto concrete foundation; Prepared water-proof material;Align the ALC wall panel with the bolt and fix it tightly.
Step 3: Fix OSB board on the top of wall with bolt and connection plate.
Step 4: Fix ALC board roof with the OSB board.
Step 5: Wall finish.
Step 6: Cable and switch installation.
Step 7: Cable and switch installation.
